 RapidRAW
Customizable Workspaces and Unified Editing
How I rebuilt the UI layout system to let you edit photos directly from your library grid.
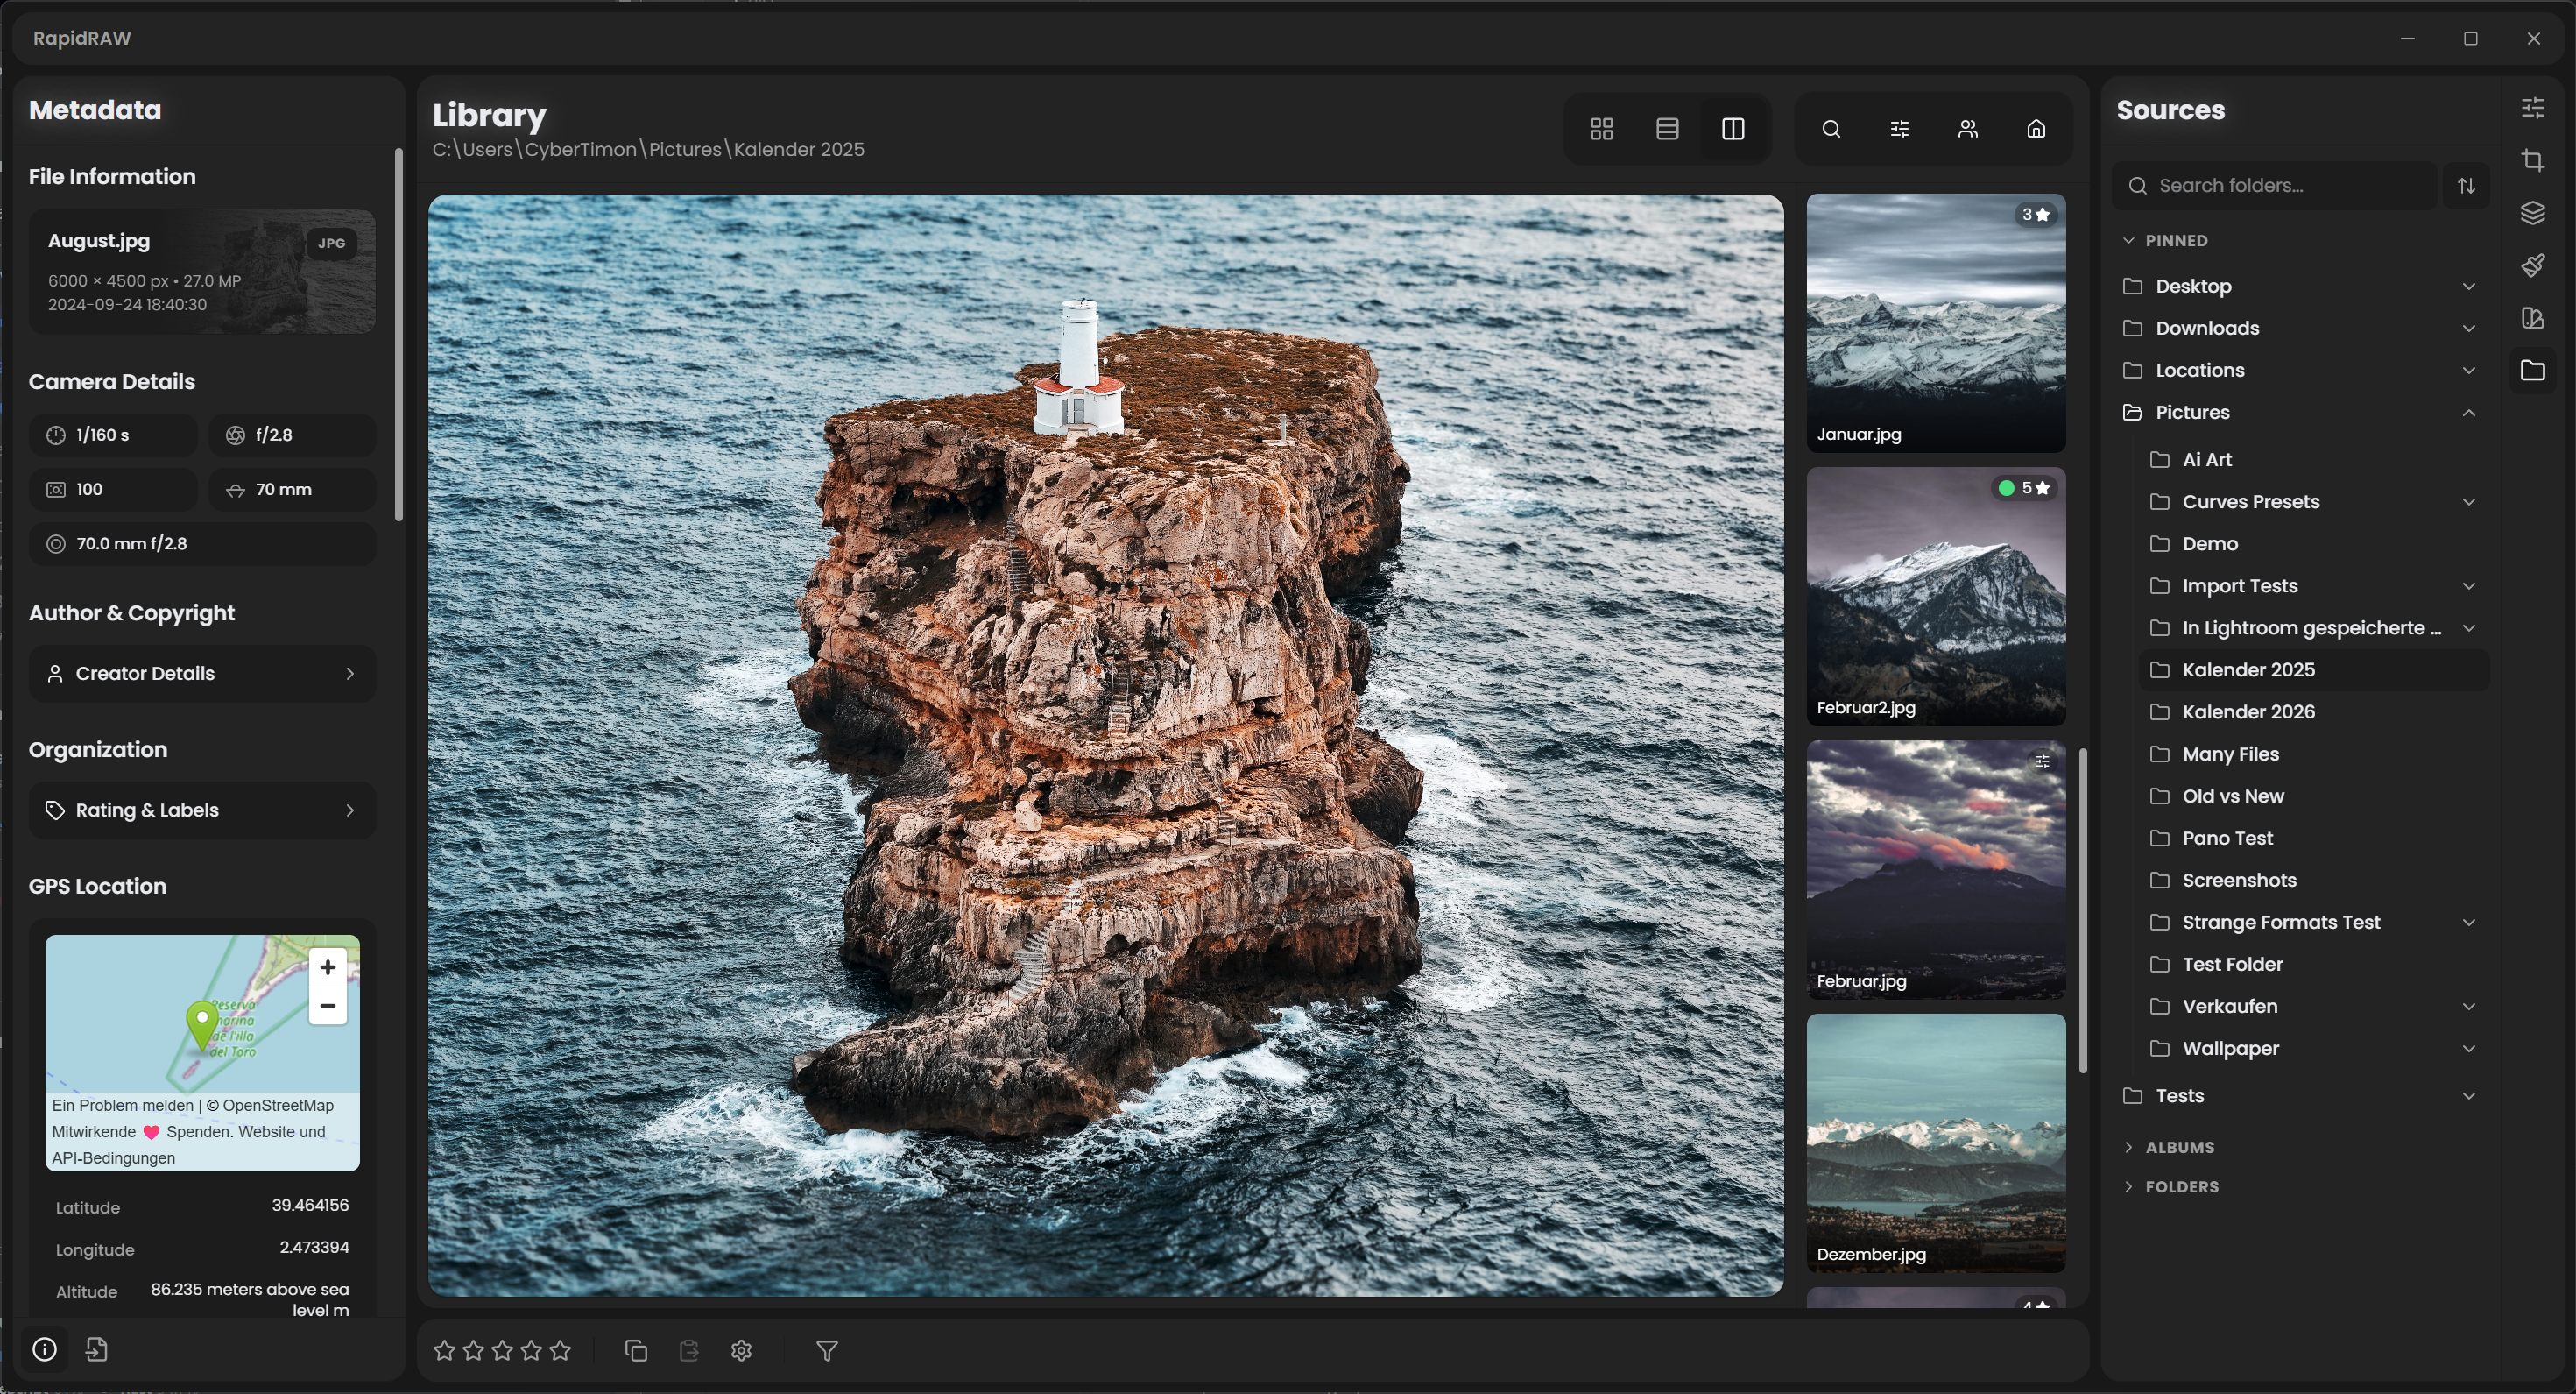
Most traditional photo editors force you into strict modes. There is usually a "Library" mode where you look at folders and rate photos, and a completely separate "Develop" mode where you actually adjust sliders.
For a long time, RapidRAW followed this exact pattern. It was rigid: sources and folders were always pinned on the left side, and adjustment tools were locked on the right.
The Friction of Modes
If you wanted to quickly fix the exposure on three photos in a row, you had to double click an image, open the editor view, tweak a slider, go back to the library grid, click the next photo, and repeat. It felt slow and interrupted your flow.
On top of that, everyone works differently. Some people want their histogram always visible at the top, others want their masking tools open side by side with their basic color sliders. Locking everyone into one fixed layout felt wrong for an app that is supposed to be all about speed.
Unified Library Editing
In the v1.6.1 update, I decided to tear down the wall between the library and the editor.
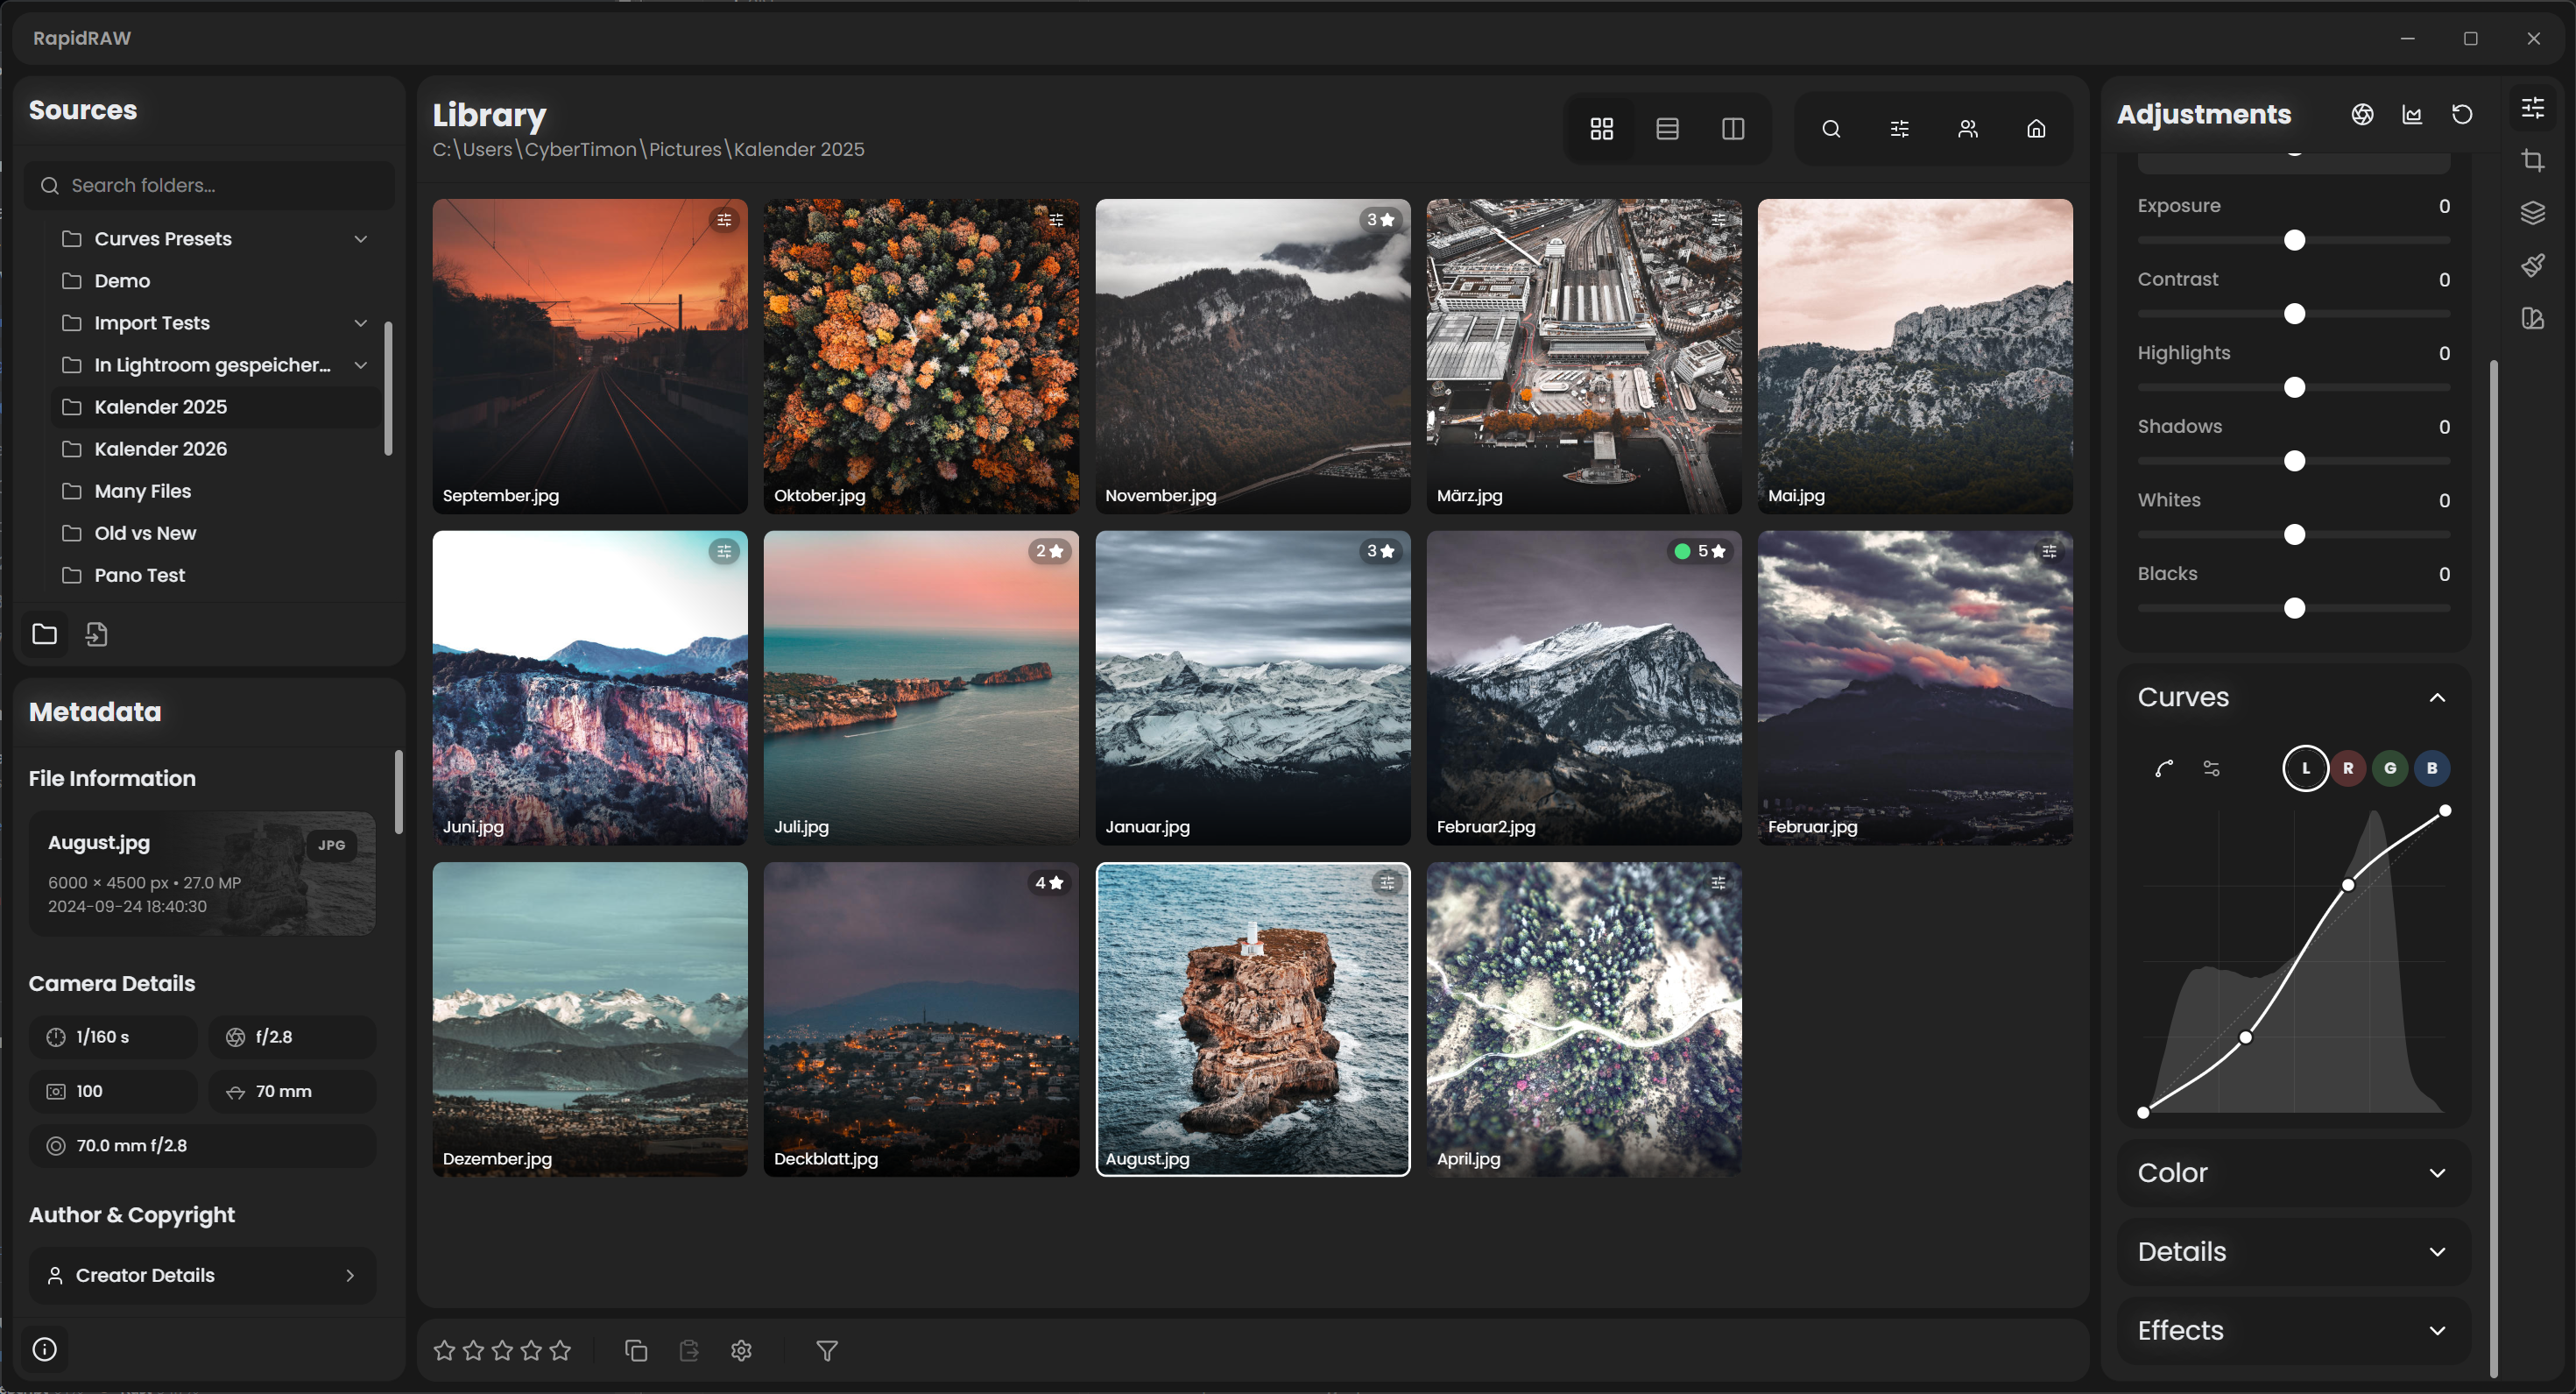
Now, your adjustment panels stay open all the time. When you click a photo in your grid, the sliders on the right instantly hook into that image. You can rate photos, browse folders, and grade colors without ever leaving the overview.
If you want a full-screen view of a single image, you can still double click into it, but it is no longer required just to tweak contrast or fix white balance.
Drag and Drop Panels
To make this workflow even better, I completely rebuilt the workspace layout system from scratch.
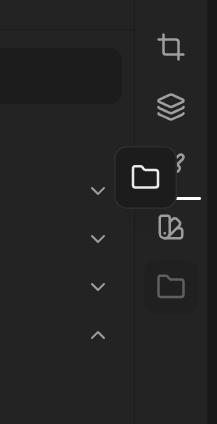
The interface is no longer a set of rigid, hardcoded sidebars. You can now grab any panel icon in the tab bar and drag it around.
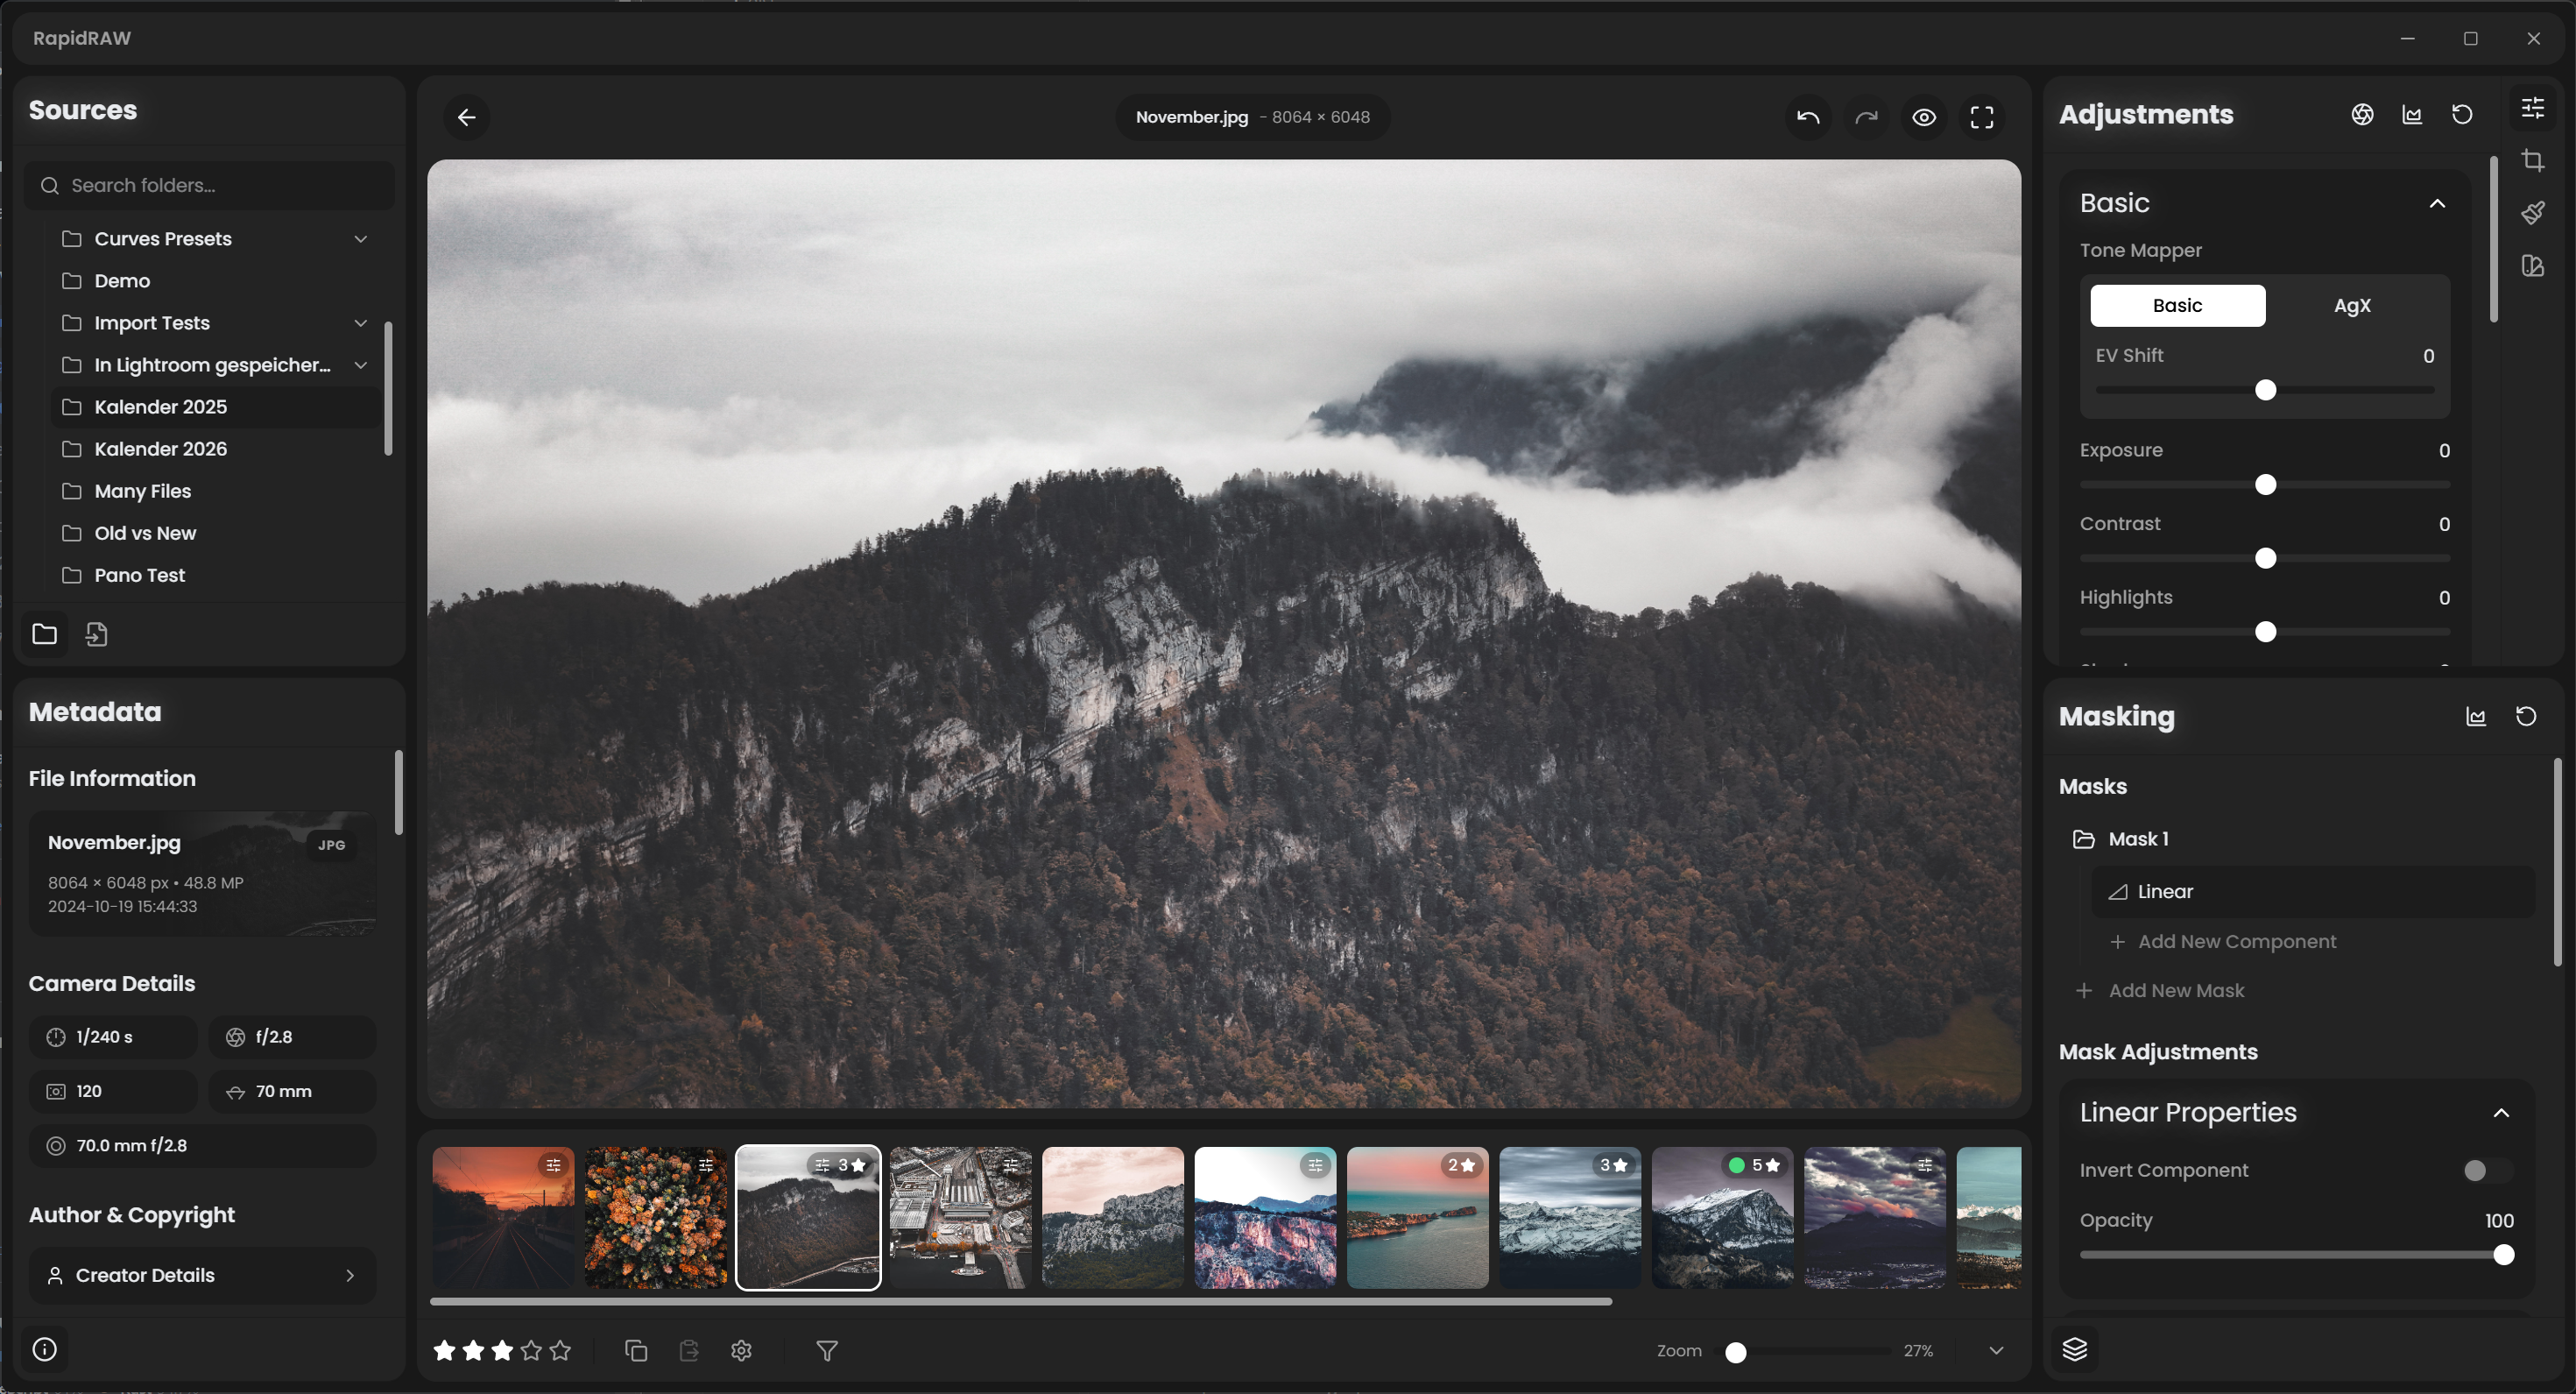
If you want your Masking panel open right below your Basic Adjustments so you do not have to keep clicking back and forth between tabs, you just drag the Masking icon down until the split indicator appears and drop it. You can build vertical splits, reorder panels, or create a layout tailored to your specific monitor size.
How It Works Under the Hood
Making this feel smooth in React was an interesting challenge.
Because I previously migrated the entire app state to Zustand, the layout state is completely isolated from the editing engine. When you drag a panel around or resize a split view, React only updates the layout container. It does not trigger unnecessary re-renders across the image processing pipeline.
The hardest part was keeping the direct WGPU renderer in sync. Because the actual photo is drawn by Rust on the GPU behind a transparent cutout in the web view, Rust needs to know the exact pixel bounds of your viewport every single frame.
Whenever you resize a panel or drop a new split view, React calculates the new viewport dimensions and sends the data down to the backend. The GPU instantly clips and redraws the image to fit the new layout without any stutter.
The Result
This change completely transformed how I use RapidRAW. Being able to browse through a recent shoot in the grid view while quickly grading exposures on the fly makes culling and sorting ten times faster.
Give the new drag and drop layouts a try, build your ideal workspace, and let me know how it feels!
See you in the next update.
Back to all posts