Punchy Portrait
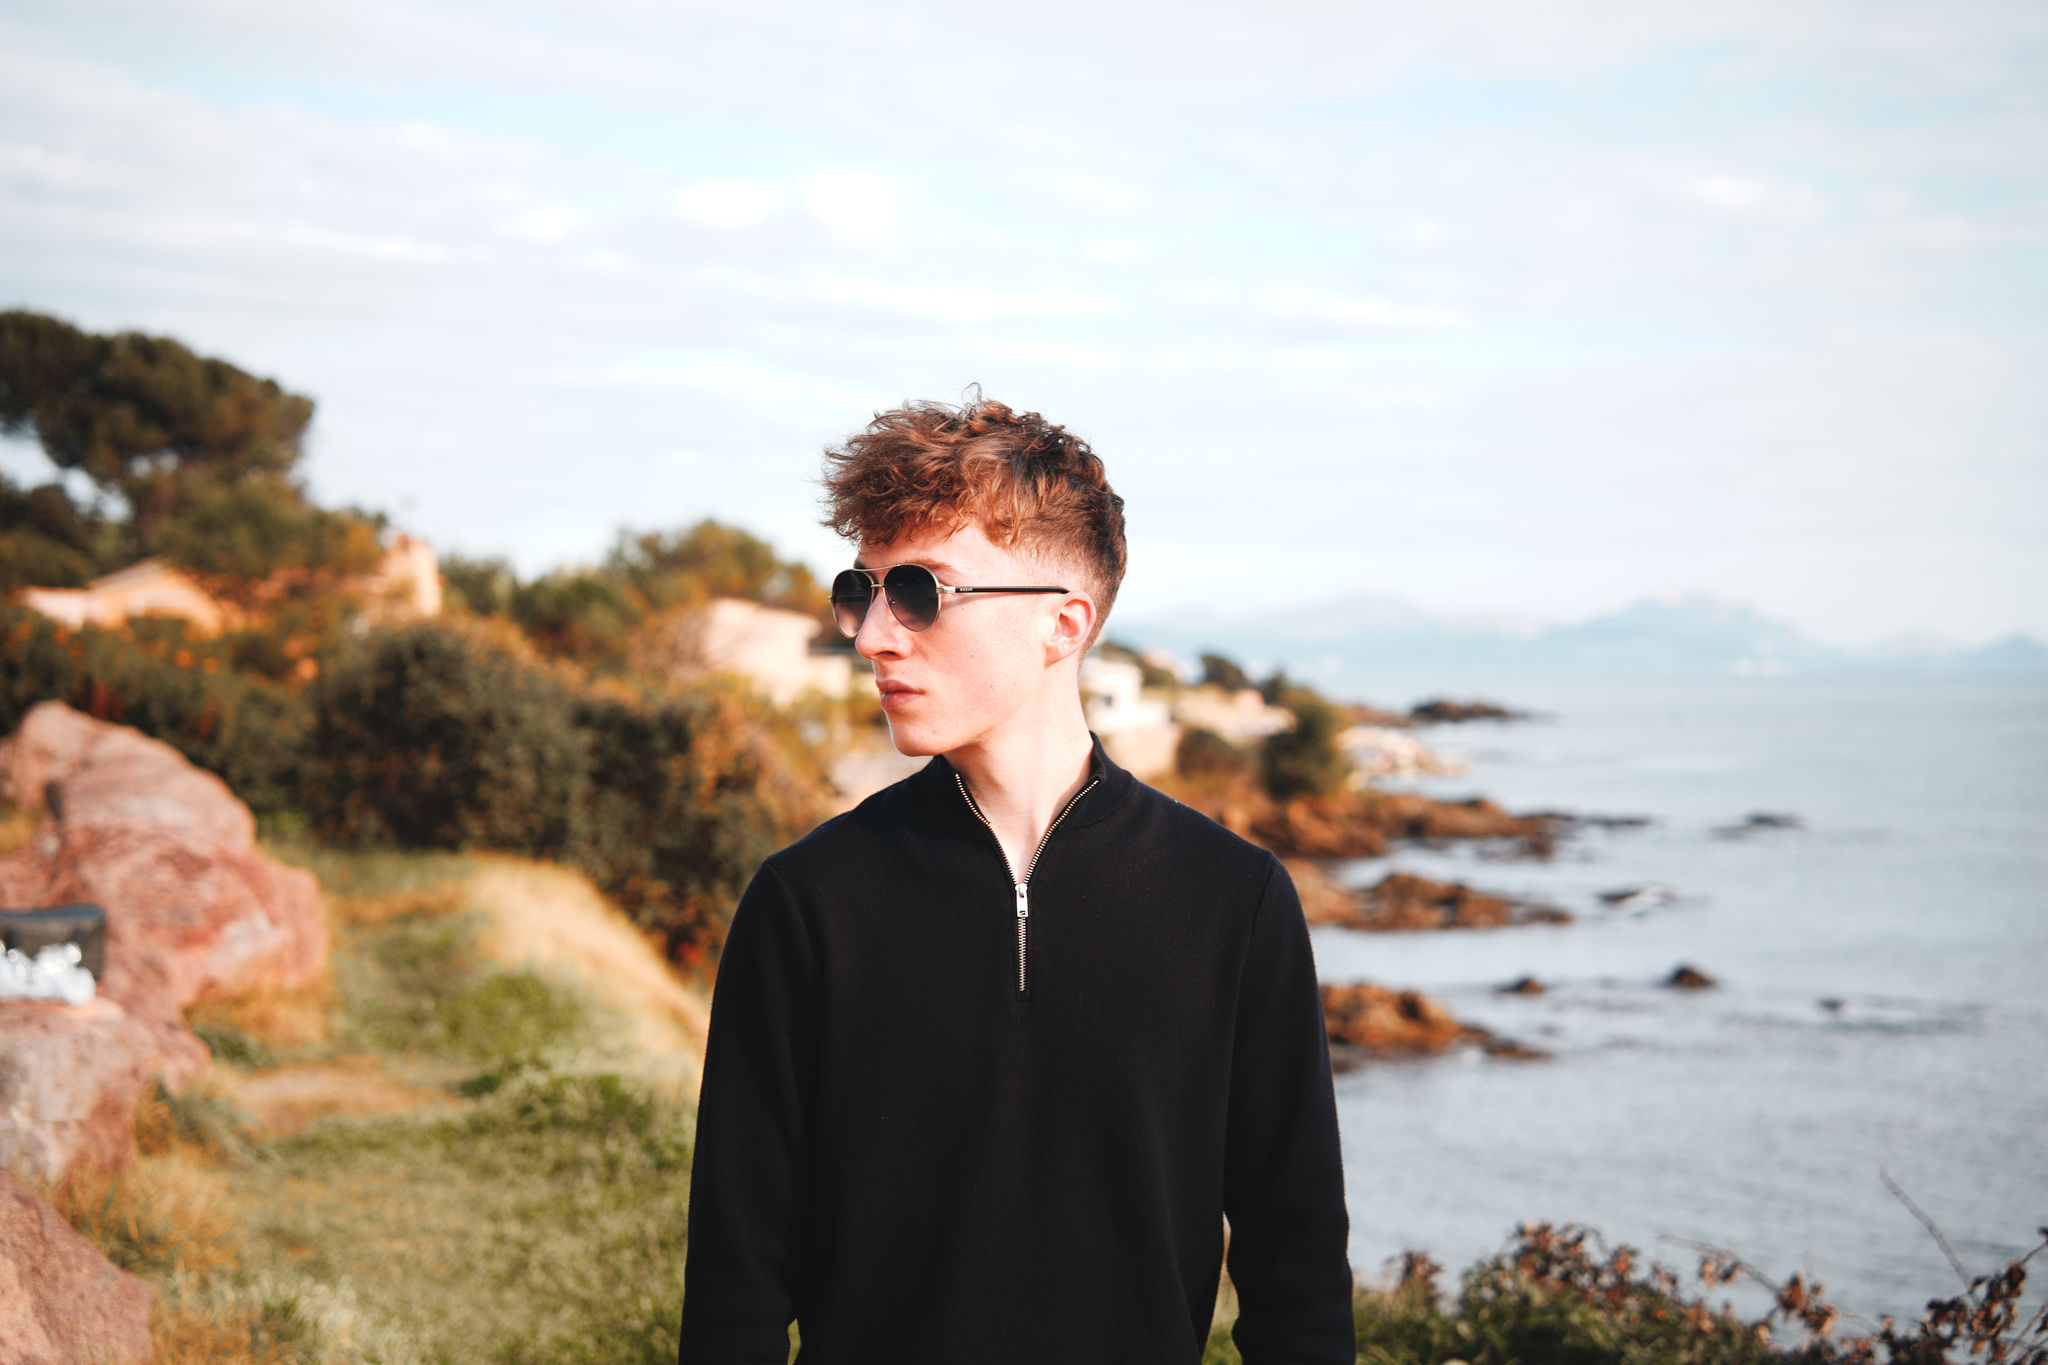
This tutorial takes a flat portrait and turns it into a punchier image where the subject pops without the skin feeling over-processed. The whole edit takes about three minutes.
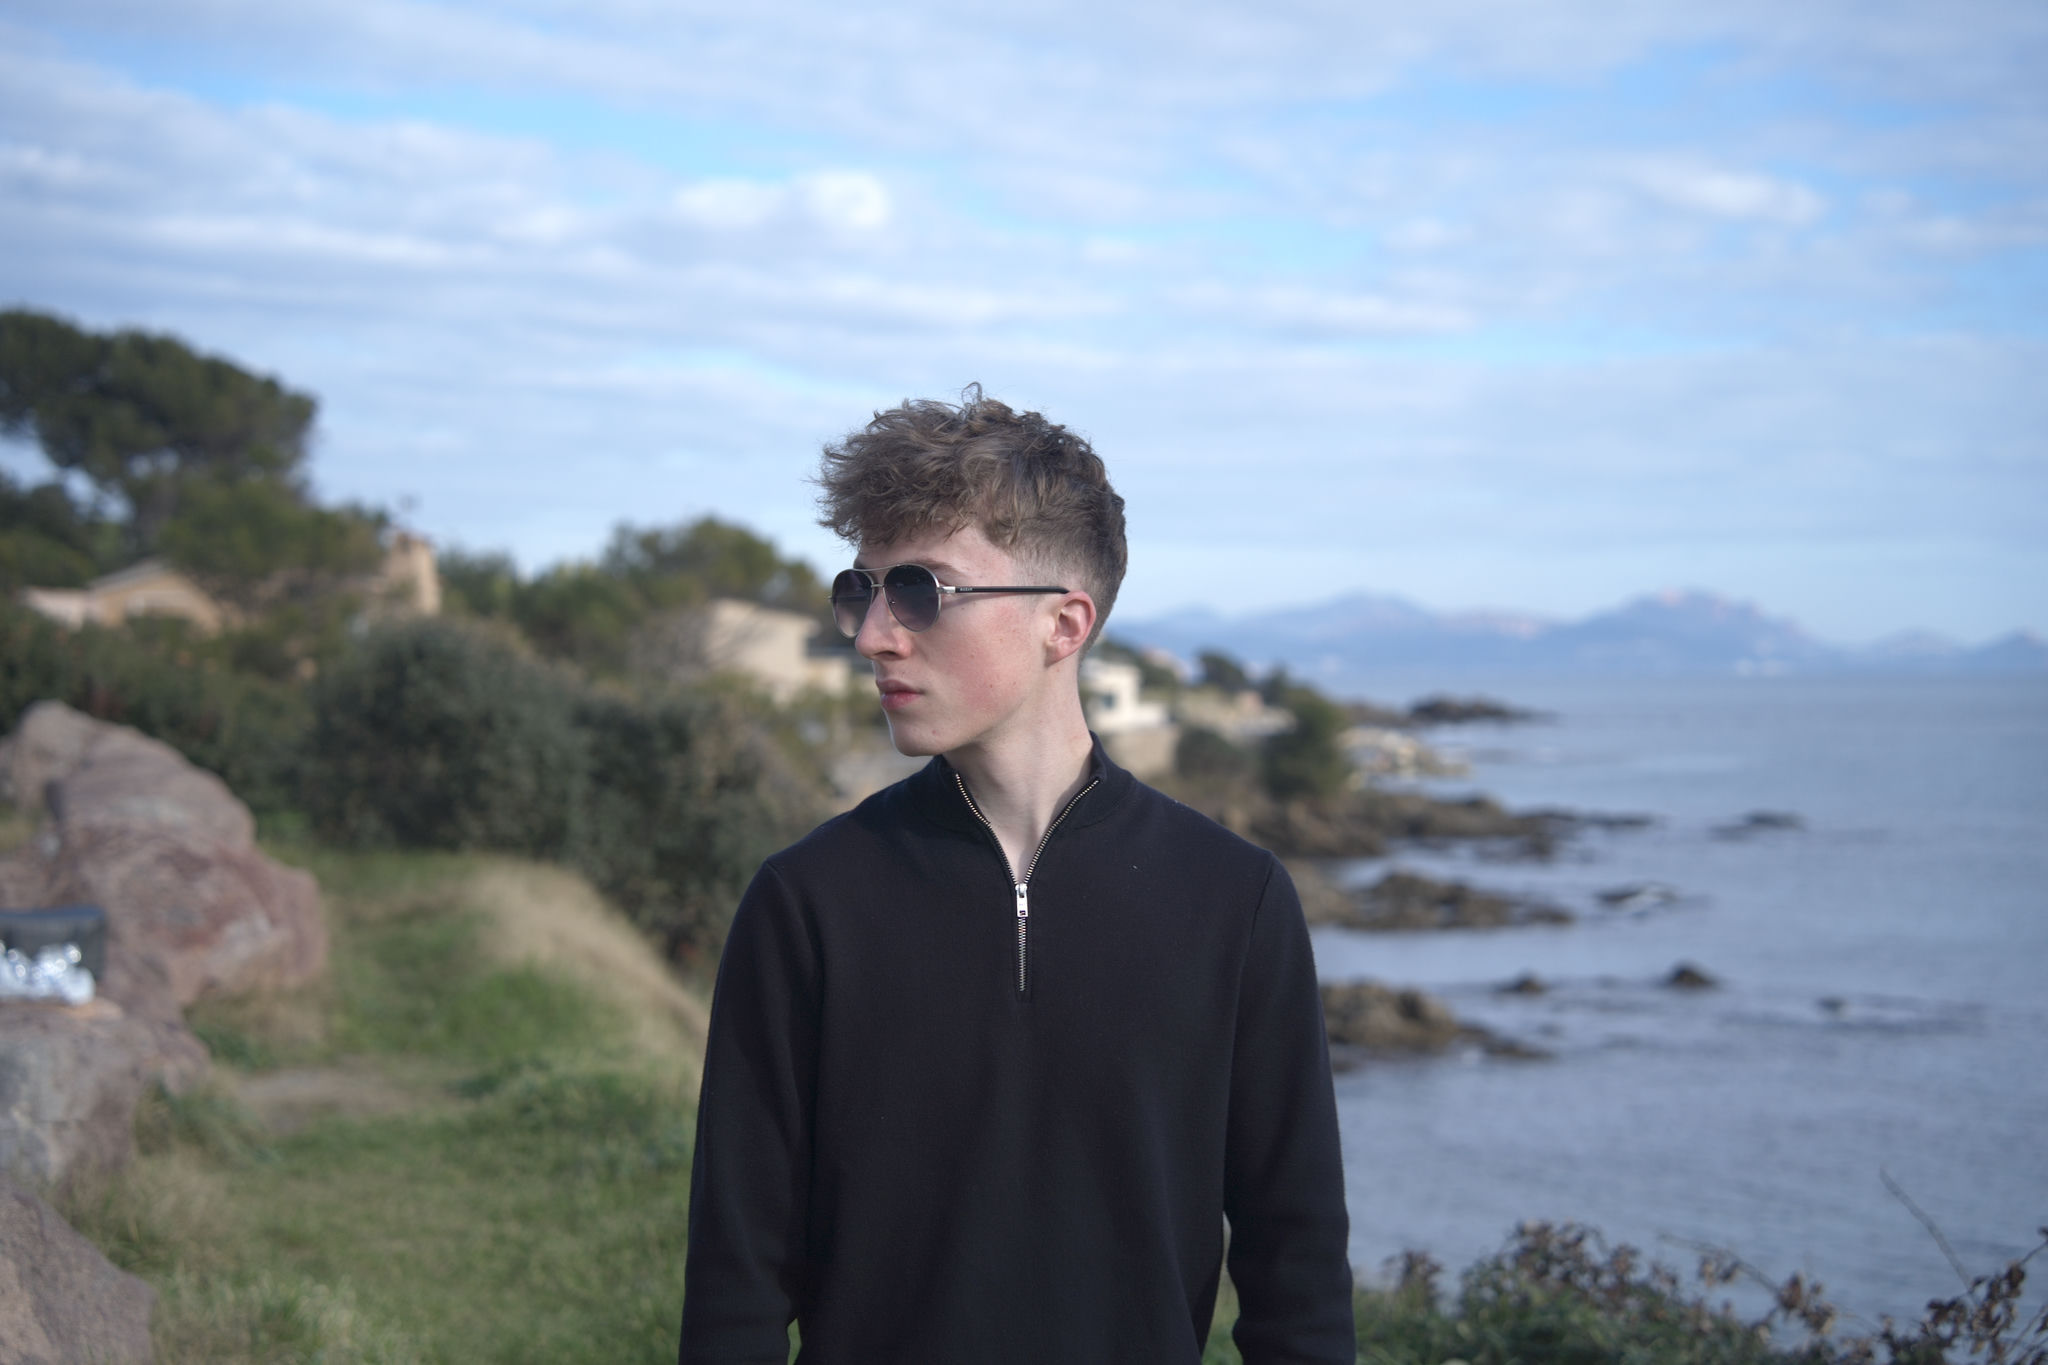
What we're trying to fix
- The subject doesn't separate from the background.
- Skin tones look slightly cool and lifeless.
- The background is competing for attention.
1. Set the global baseline
Open Adjustments (D).
| Slider | Set to | Why |
|---|---|---|
| Exposure | +0.2 | Tiny lift. |
| Highlights | −20 | Gentle skin-highlight rolloff. |
| Shadows | +20 | Open up the shadow side of the face. |
| Whites | +10 | Set the highlight endpoint. |
2. Warm the skin
| Slider | Set to | Why |
|---|---|---|
| Temperature | +6 | Subtle warm shift. |
| Tint | +3 | A touch of magenta for healthier skin. |
3. HSL: prioritize warm tones (skin)
Skin lives in the Orange range of the HSL Color Mixer, so adjust that first—then slightly mute everything else.
Color → Color Mixer → Oranges
| Slider | Set to | Why |
|---|---|---|
| Hue | −5 | Shifts skin slightly toward red for a healthier tone. |
| Saturation | −8 | Prevents overly intense orange tones. |
| Luminance | +10 | Brightens skin without affecting other colors. |
Then: subtly desaturate non-warm colors
Go through the other channels (especially Blues, Greens, Aquas, Purples) and reduce saturation slightly:
| Channel | Saturation |
|---|---|
| Blues | −40 to −60 |
| Greens | −40 to −60 |
| Aquas | −40 to −60 |
| Purples | −5 to −15 |
Goal: Keep warm tones (skin, sunlight, warmth) intact while gently muting cooler colors to create focus and a more cinematic balance.
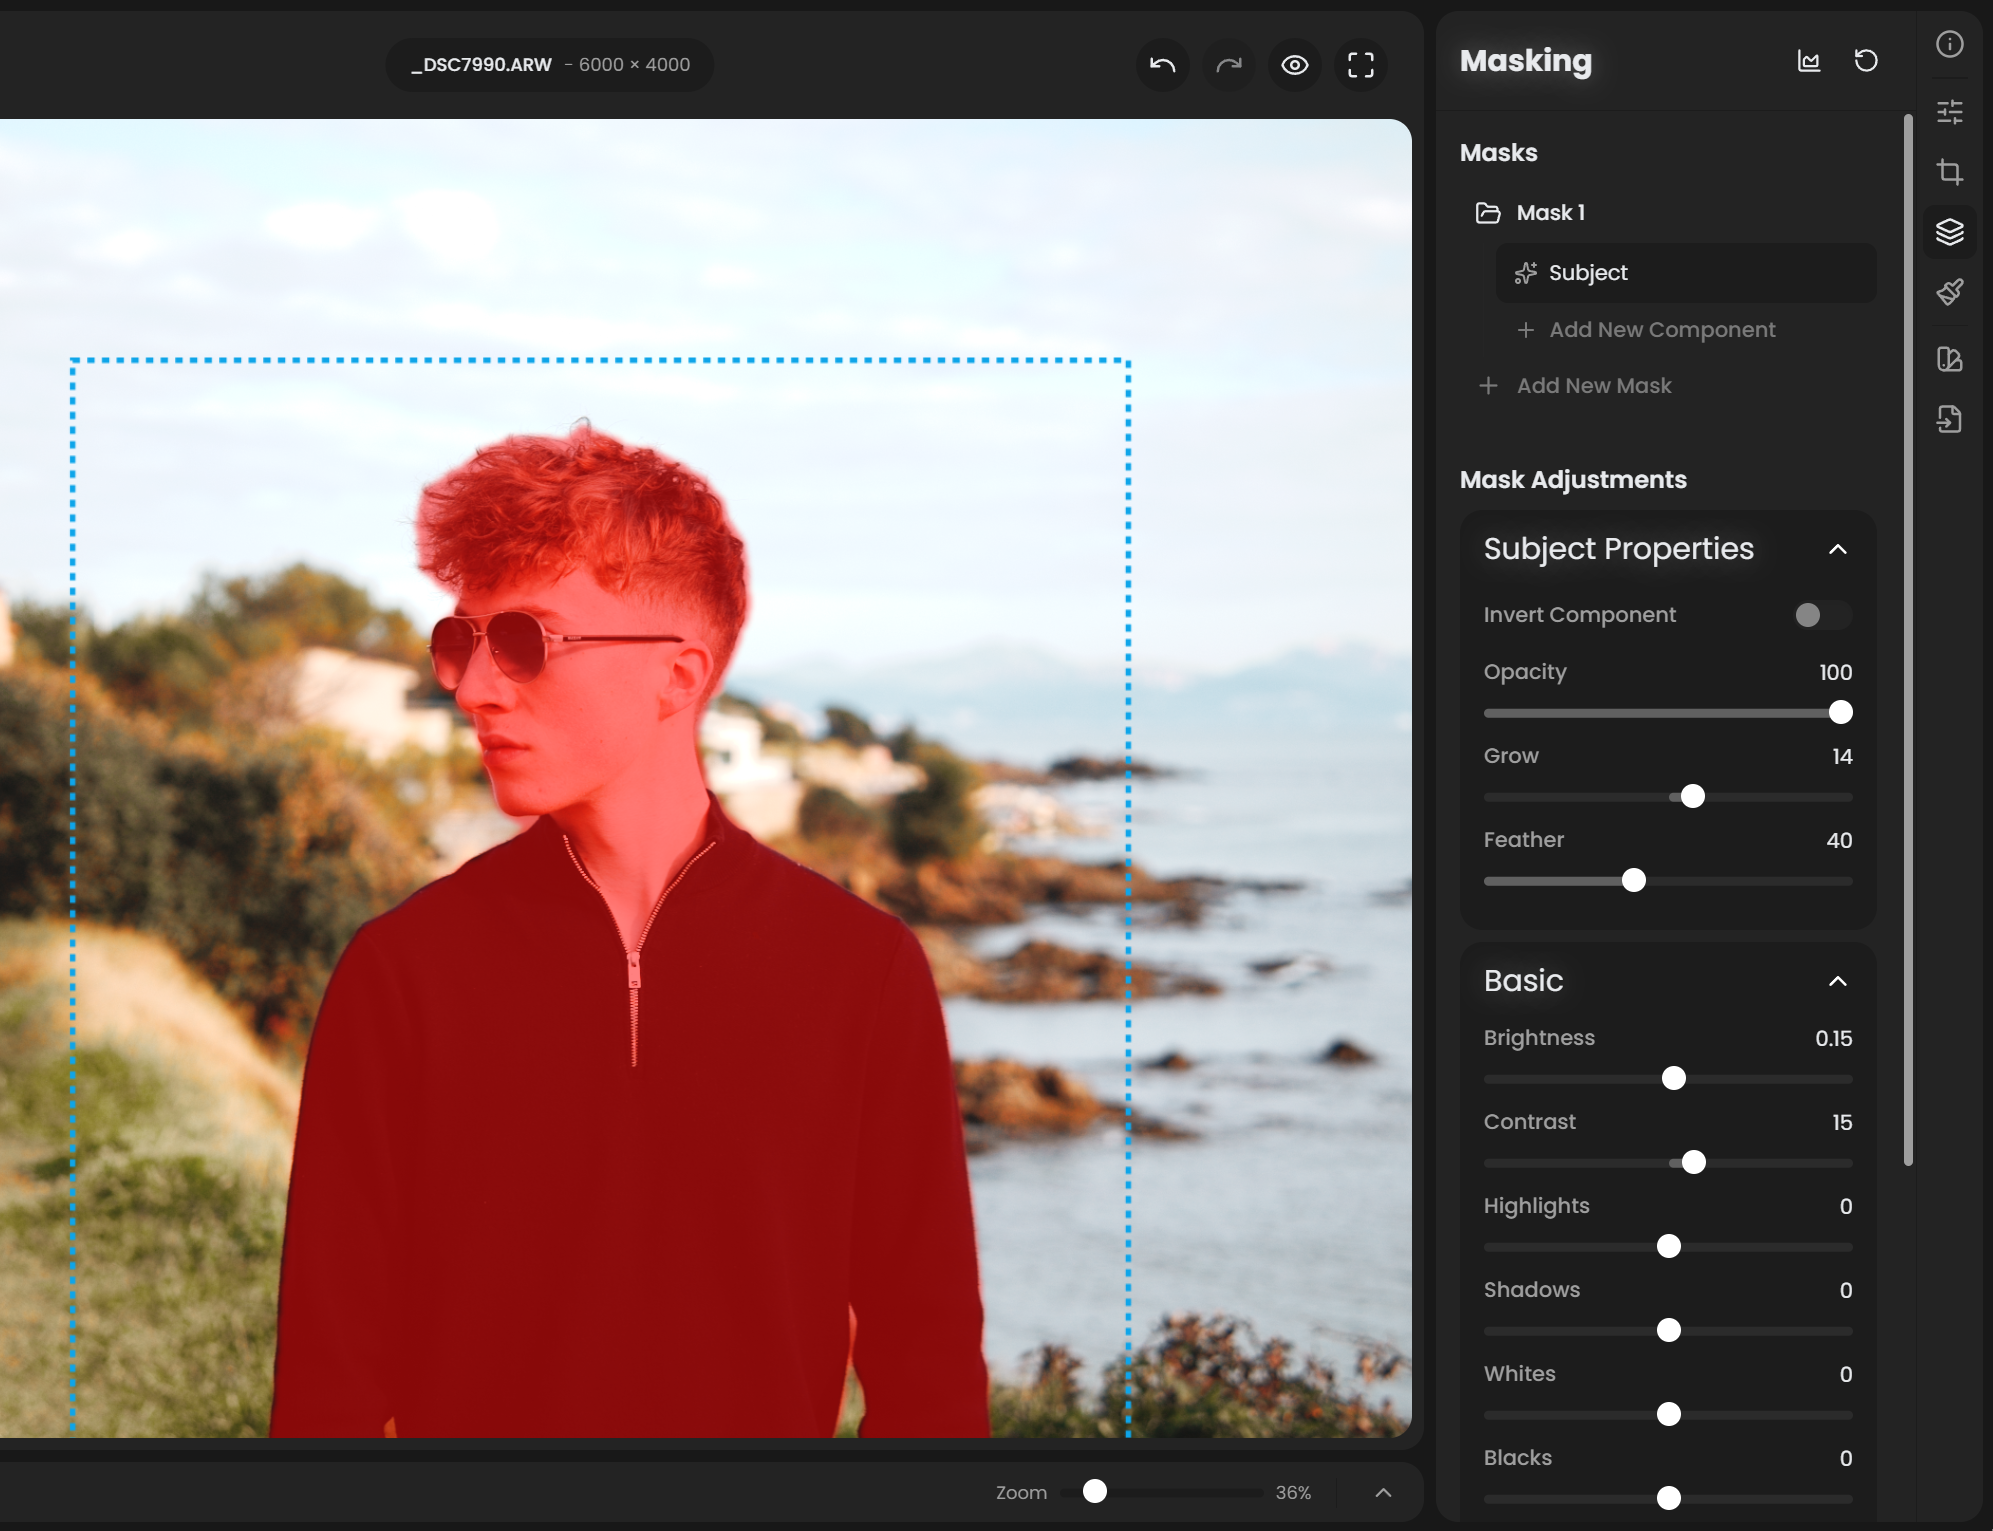
4. AI subject mask: lift the person
Open Masks (M) → + New Mask → Subject. Wait for the AI (CPU; a few seconds).
With the new mask container selected:
| Slider | Set to | Why |
|---|---|---|
| Exposure | +0.3 | Subject becomes brighter than the background. |
| Contrast | +15 | Adds shape to the face. |
| Clarity | +20 | Mid-frequency contrast: emphasizes eyes, brows, hair. Keep it moderate; too much makes skin look harsh. |
| Whites | +10 | Catchlights and highlights pop. |
5. Refine the mask edges (optional)
Wisps of hair, the gap between the arm and body, etc.
- With the mask container still selected, + Add Submask → Brush.
- Set the submask Mode to Subtractive (to remove from selection) or Additive (to add).
- Resize the brush with
Ctrl+↑/Ctrl+↓. - Paint over any edge the AI got wrong, at 100% zoom.
6. Background fade (inverse subject)
Click + New Mask → Subject again. Then toggle the Invert switch on the new container. Now the mask covers everything except the subject.
| Slider | Set to | Why |
|---|---|---|
| Exposure | −0.4 | Background gets darker. |
| Saturation | −15 | Less competing color. |
| Clarity | −15 | Slight softening of distractions. |
7. Soften the skin (optional)
Add a third mask container if there's harsh texture or blemishes. + New Mask → Subject, then add a Brush submask painted over the cheeks and forehead with Mode: Intersect, then:
| Slider | Set to | Why |
|---|---|---|
| Clarity | −15 to −25 | Smooths skin without blurring eyes/lips. |
| Sharpness | −10 | Extra softness on the painted area. |
8. Final touches
| Slider | Set to | Why |
|---|---|---|
| Vignette → Amount | −15 | Holds attention on the subject. |
| Vignette → Feather | 70 | Invisible-ring edge. |
| Effects → Glow | 8 | Subtle dreamy bloom. Skip for editorial / news work. |
Recap
- Global baseline → warm skin via Temperature/Tint and HSL Oranges → subject pop with an AI mask → background fade with the inverted subject mask → optional skin softening → tasteful vignette and glow.
- Name your masks ("Subject pop", "BG fade", "Skin smooth") so you can revisit later.
See also
- Workflow: Mask a Subject for more on subject masking.
- Masks for the full mask-system reference.
- Color for HSL details.