Edit a Sunset Landscape
This tutorial takes a typical "shot into the sun" landscape from a flat, slightly underexposed RAW to a finished image with depth, color, and a nice atmosphere. The whole edit takes about two minutes once you know the moves.
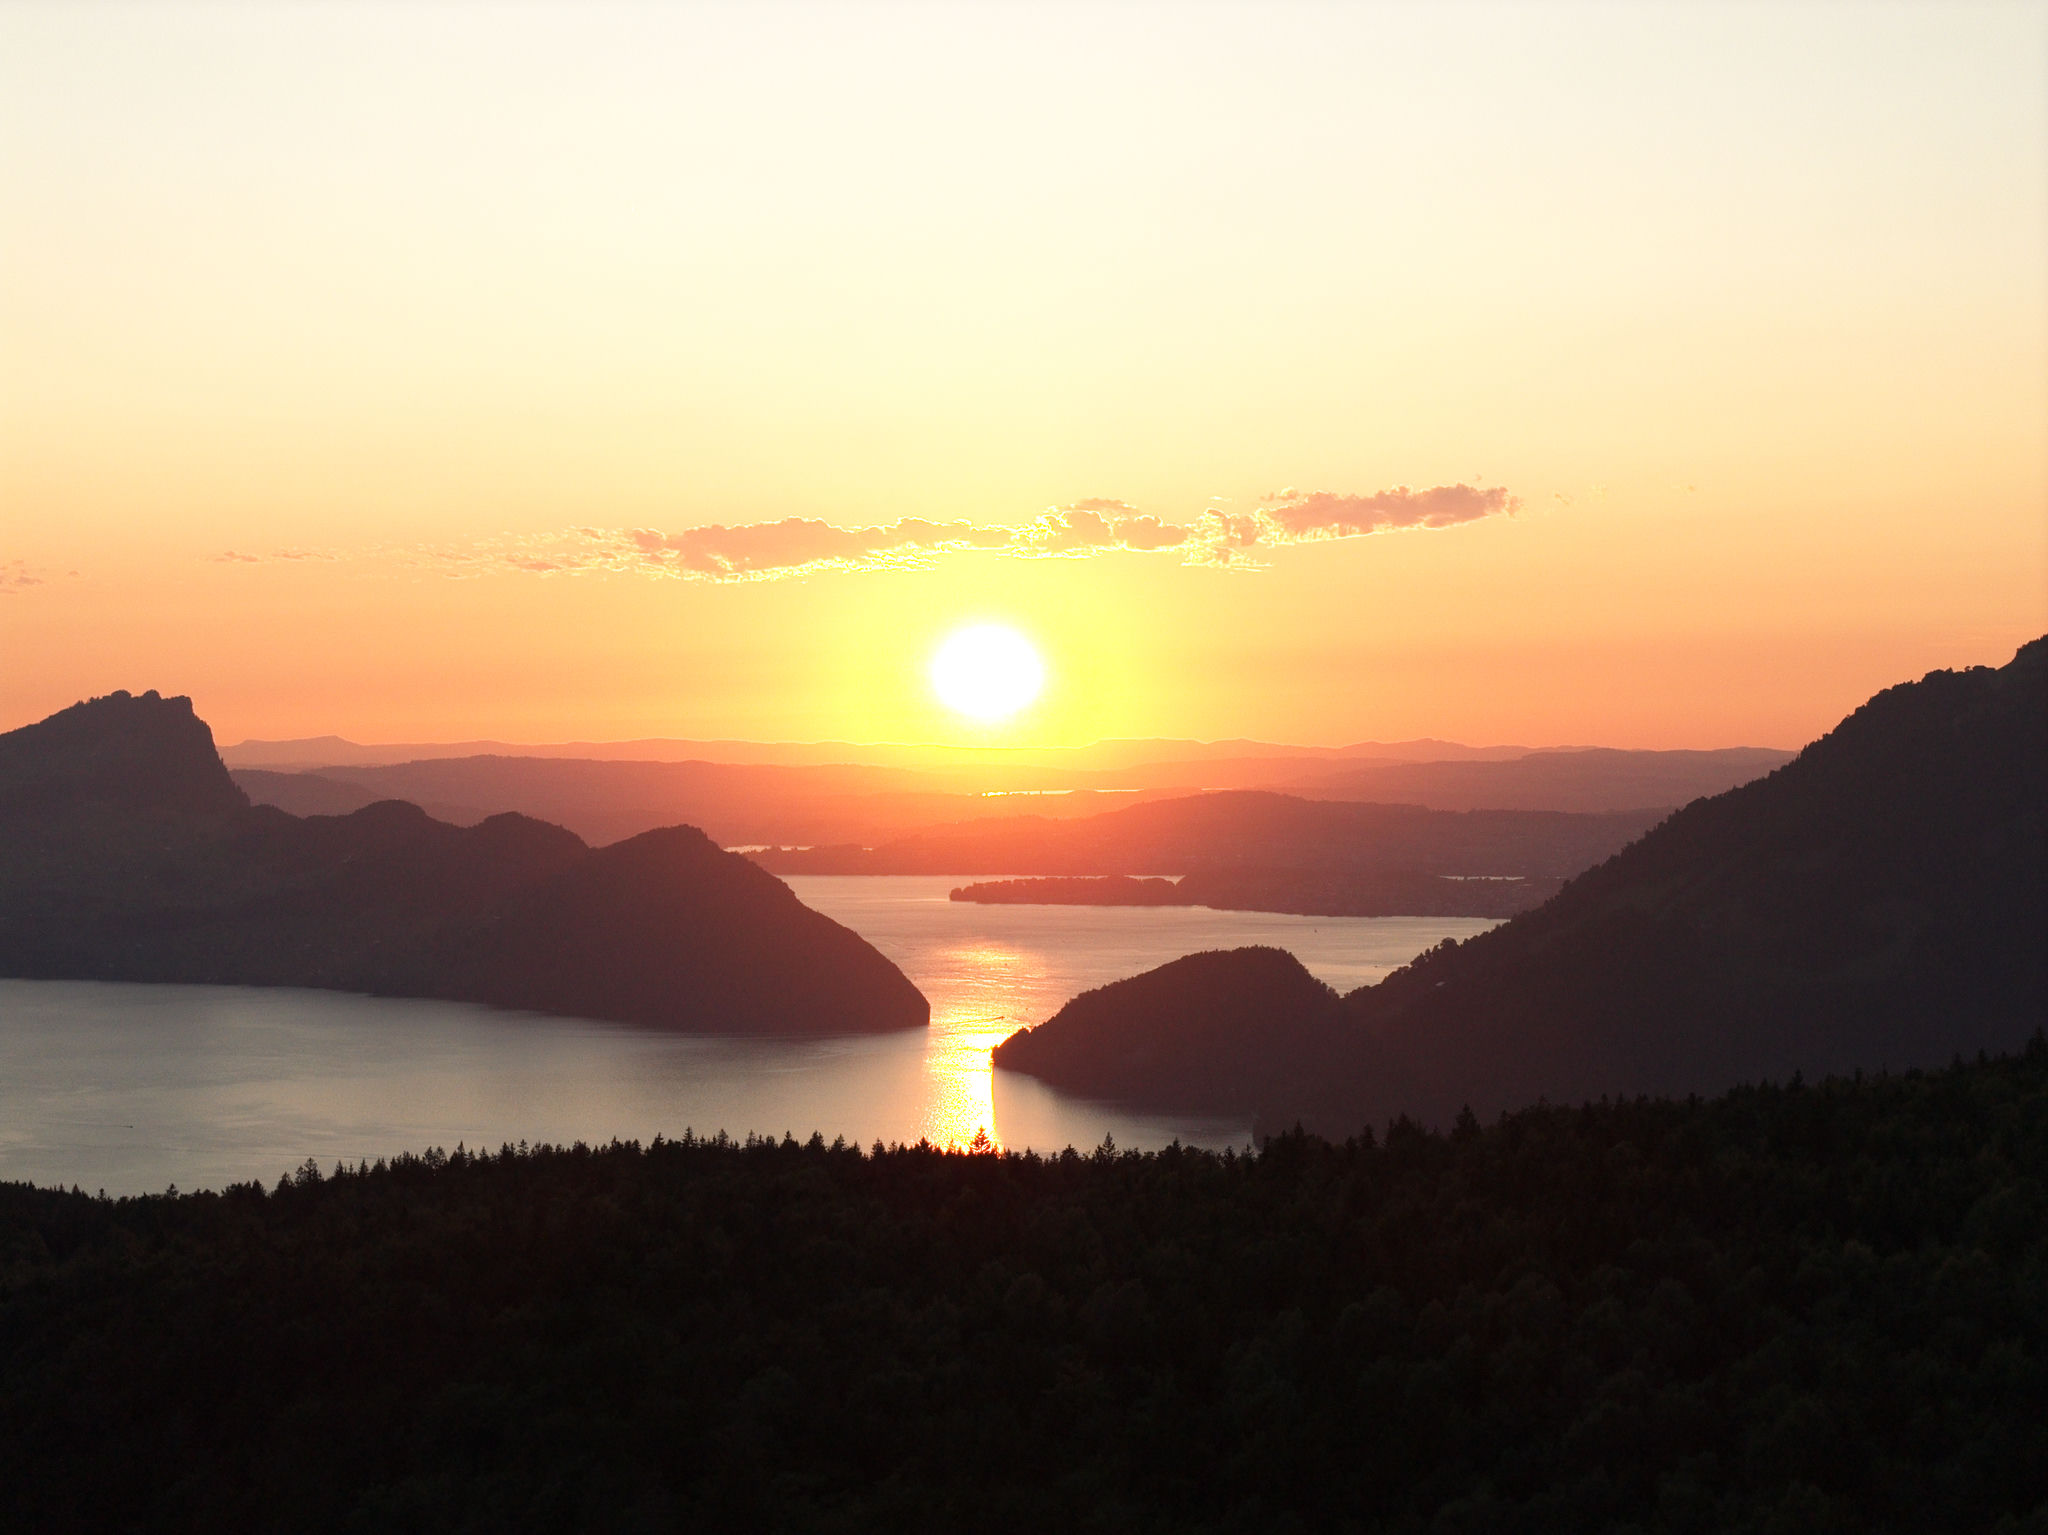
What we're trying to fix
- The colors are unrealistic near the sun.
- The foreground is too dark to read.
- The whole image looks flat because of the high dynamic range.
- The colors are muted compared to what the scene actually looked like.
1. Set the global exposure
Open the Adjustments panel (D) and look at the histogram (toggle with A if it isn't visible).
| Slider | Set to | Why |
|---|---|---|
| Exposure | +1.4 | Lifts the midtones without pushing the sky further into clipping. |
2. Recover the sky and open the foreground
The classic four-slider rescue:
| Slider | Set to | Why |
|---|---|---|
| Highlights | −20 | Pulls the sky back from clipping; sun shape and clouds reappear. |
| Whites | −20 | Adds extra ceiling-recovery on the brightest pixels. |
| Shadows | +30 | Opens up the dark foreground. |
| Blacks | +20 | Lifts crushed shadows without flattening the whole image. |
After this step the photo will look noticeably flatter. That's expected; the next step adds punch back.
3. Restore midtone contrast
| Slider | Set to | Why |
|---|---|---|
| Contrast | +25 | Adds global midtone separation. |
Optional refinement with Curves: drop a Luma curve point at input ~80 down a bit, and a point at input ~180 up a bit, for an S-curve that doesn't re-clip the recovered tones.
4. Warm it up & bring color back
Sunsets feel warmer than the camera typically captures them.
| Slider | Set to | Why |
|---|---|---|
| Temperature | +12 | Pushes whites slightly toward orange. |
| Tint | +4 | A whisper of magenta for that "golden hour" feel. |
| Vibrance | +15 | Rebuilds color saturation, especially in the muted sky. |
| Saturation | +5 | A small global lift on top. |
5. Selective sky deepening (optional)
For a more dramatic sky without making the foreground oversaturated:
- Open Masks (
M) → + New Mask → Sky. - Wait for the AI to finish (a few seconds, runs on the CPU).
- With the sky mask selected: - Saturation +20 - Luminance −10 (in the HSL Color Mixer's Blues, or just use mask Exposure −0.3)
6. Final polish
| Slider | Set to | Why |
|---|---|---|
| Clarity | +15 | Adds depth in the cloud shadows. |
| Vignette → Amount | −20 | Subtle corner darkening to hold the eye in the frame. |
7. Save it
If you'll edit other photos from the same shoot the same way, save it as a Style preset in the Presets panel (P → + New Preset, name it something like "Sunset Warm").
For one-off application to other photos in this folder, Ctrl+C then select the others and Ctrl+V.
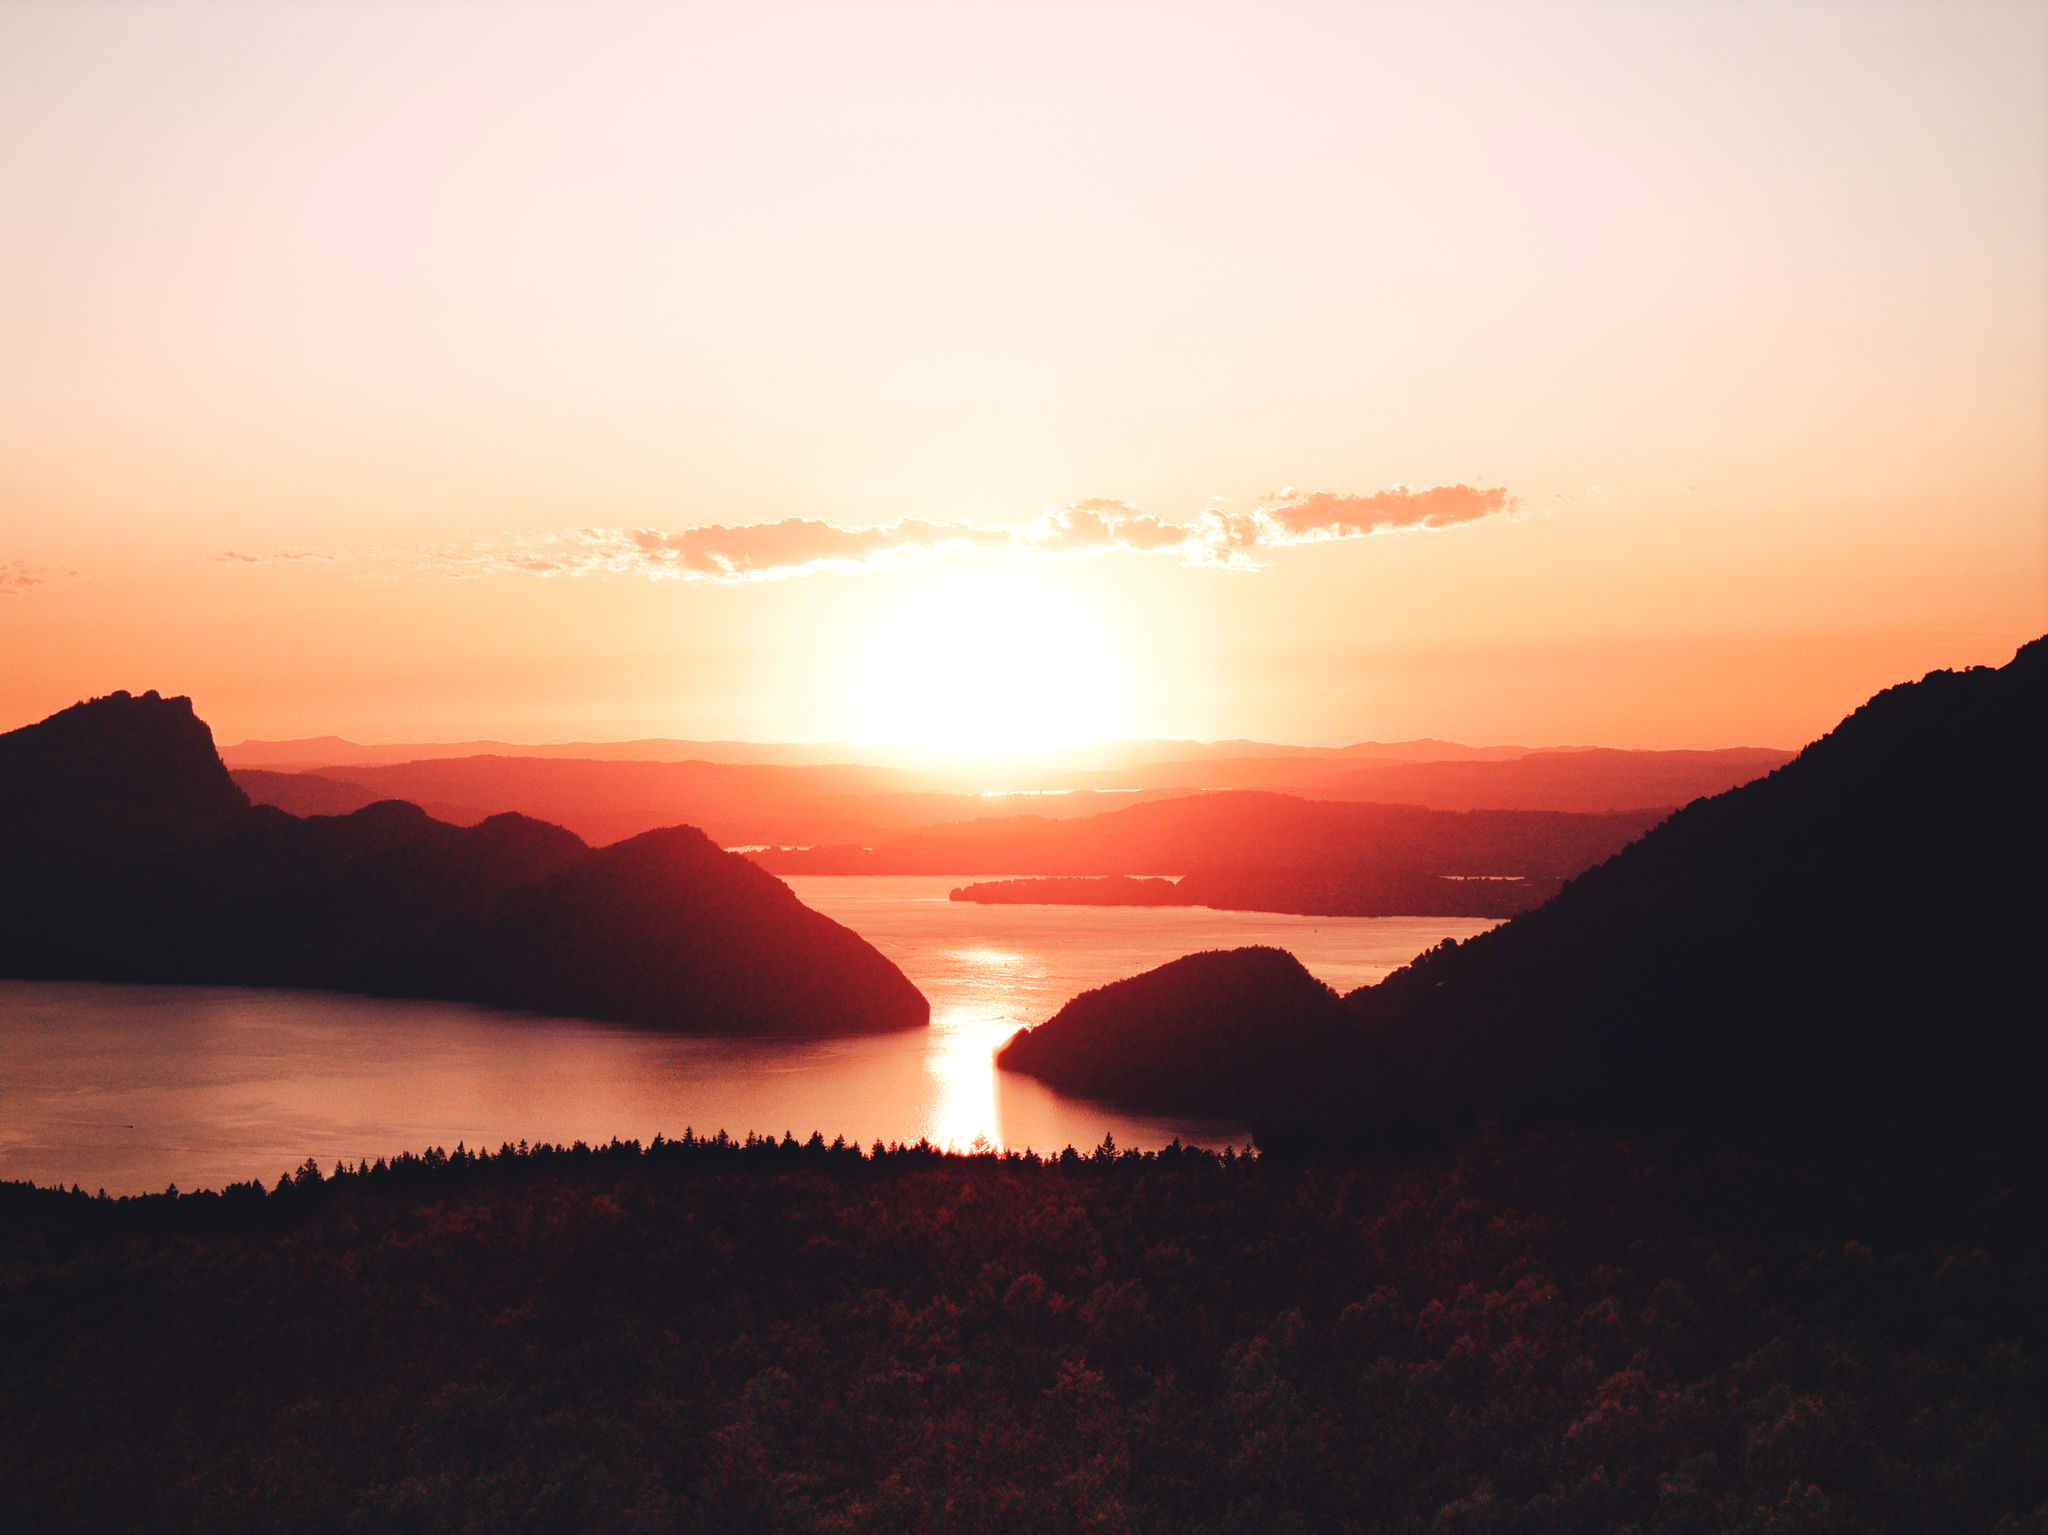
Recap
- Exposure for overall brightness, Highlights / Shadows / Whites / Blacks for the dynamic-range rescue, Contrast to add the punch back, Temperature / Vibrance for color, Sky mask for selective drama, Vignette for finish.
- Save as a Style preset if you want to reuse it.
See also
- Workflow: Recover Highlights & Shadows for the broader recovery technique.
- Cinematic Color Grade for a more stylized look.
- Basic and Color for the slider reference.