Panels Overview
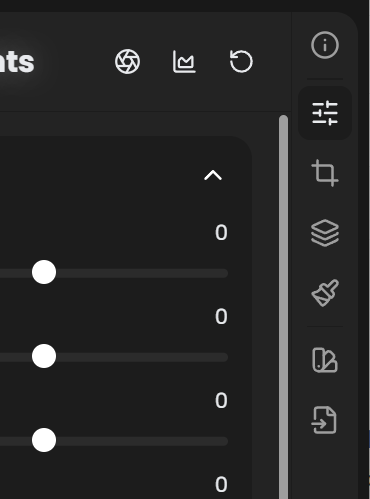
The right side of the editor has seven tabs, each with a single-letter shortcut. The tabs appear in three groups (separated by a divider): Info at the top, the editing tools (Adjust, Crop, Masks, Inpaint) in the middle, and Presets, Export at the bottom. This page is the map.
The tabs
The order below mirrors the actual right-panel switcher in RapidRAW.
| Group | Shortcut | Tab name | What it's for | Deep dive |
|---|---|---|---|---|
| Top | I |
Info | EXIF, GPS map, tags, ratings, color labels. | Metadata |
| Middle | D |
Adjust | Basic tone, color, curves, detail, effects (the global edit pipeline). | Basic, Color, Curves, Detail, Effects |
| Middle | R |
Crop | Aspect ratios, rotation, straightening, perspective transform, lens correction. | Crop |
| Middle | M |
Masks | Local adjustments: AI subject/sky/depth, gradients, brushes, color/luma ranges. | Masks |
| Middle | K |
Inpaint | Object removal and quick local masks: Quick Erase, Subject, Foreground, Brush, Linear, Radial. | Inpaint |
| Bottom | P |
Presets | Save, apply, organize, import/export looks. | Presets |
| Bottom | E |
Export | Format, quality, resize, watermark, batch. | Export |
How the panels relate
Adjustments in RapidRAW are non-destructive. Every panel writes to the same .rrdata sidecar. Order of operations doesn't matter visually; RapidRAW always renders the final image from the original RAW plus the full set of adjustments stored in the sidecar, in the canonical pipeline order baked into the GPU shader.
Adjustment visibility (Settings → General)
In Settings → General, you can hide individual adjustment groups inside the Adjust panel. The defaults reflect what most users want to see:
| Group | Default | Notes |
|---|---|---|
| Chromatic Aberration | Hidden | Manual CA sliders in Detail. Most users rely on Lensfun corrections instead. |
| Color Calibration | Hidden | Camera-profile-style primaries shifts in Color. Niche tool. |
| Grain | Visible | The Grain group in Effects. |
Hiding a group only removes it from the right-panel UI; any saved values keep being applied at render time.
Working between photos
Right-panel state is per-photo. When you switch photos via the filmstrip or arrow keys, every panel updates to show that photo's settings.
To carry adjustments between photos, use Copy & Paste Settings (Ctrl+C / Ctrl+V); see Copy & Paste Settings. Or save a preset.